Setting the Video Controller
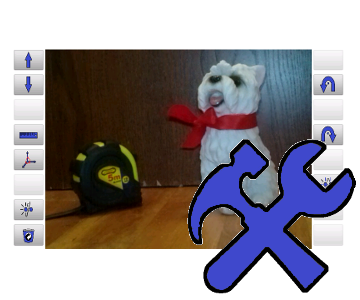
In this article we are going to introduce how to modify the Video Controller to best suit our needs.
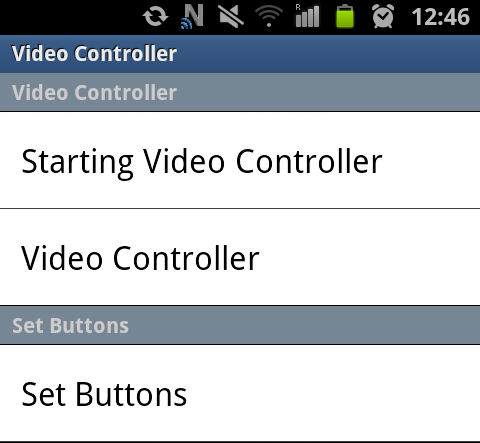
We can access the settings for the Video Controller from the start screen by pressing the Menu button and choosing Settings/Video Controller (for detailed instructions see the this section). Then, we will arrive at a window displayed on the right hand side.
The following menu is divided into three categories with respect to their content.
The categories are:
| Category | Description |
|---|---|
| Starting Video Controller | In this category we can set all the important things that are executed before the Video Controller is even started. Here can we specify what command will be sent to the robot or to the PC in order to start the video stream or how long the Controller should wait between sending request for the stream and starting the Video Controller. |
| Video Controller | Here we can set all the parameters regarding the Video Controller itself. We can set the parameters of the video, define the pipeline and set whether a kill command for the video stream should be sent right before closing the Video Controller. |
| Set Buttons | In this part we can set images and commands for all buttons of the Video Controller separately.} |
We will concentrate on every single category in greater details on the following lines.
Starting Video Controller
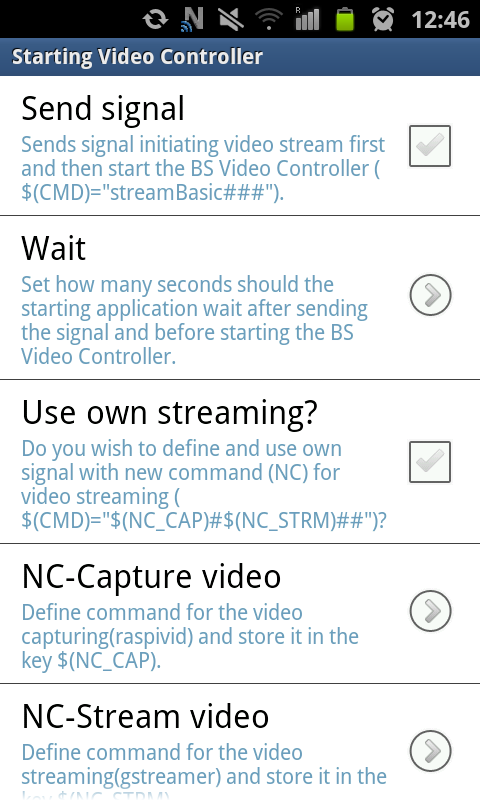
In this category we can set all the things that are executed before the Video Controller is even started. We can define the command for the robot to start the video stream and even set delay for start of the Video Controller in order to give the robot time to initialize the stream.
For all possible settings with detailed descriptions look at the following table.
| Name | Type | Description |
|---|---|---|
| Send signal | bool | If checked true, the Blue Seal Starter will send a command to the server in the form of streamBasic### before starting the Video Controller. This command can be used to initialize the video stream so the robot does not have to spend resources on taking of the video when only the Basic Controller is used. |
| Wait | int (from list) | Here we can set whether a delay should be included between the signal and the actual start of the Video Controller. There are several predefined values in seconds to choose. |
| Use own streaming? | bool | If checked true, a command of the form $(NC_CAP)#$(NC_STRM)## will be sent to the server in order to initiate the video stream. This new command offers users a possibility to modify the video stream on the run. The new keys can be set by the user to arbitrary strings. This can be done in the next two items of this menu. |
| NC-Capture video | string | Here we can set a string value for the key $(NC_CAP). |
| NC-Stream video | string | Here we can set a string value for the key $(NC_STRM). |
Video Controller
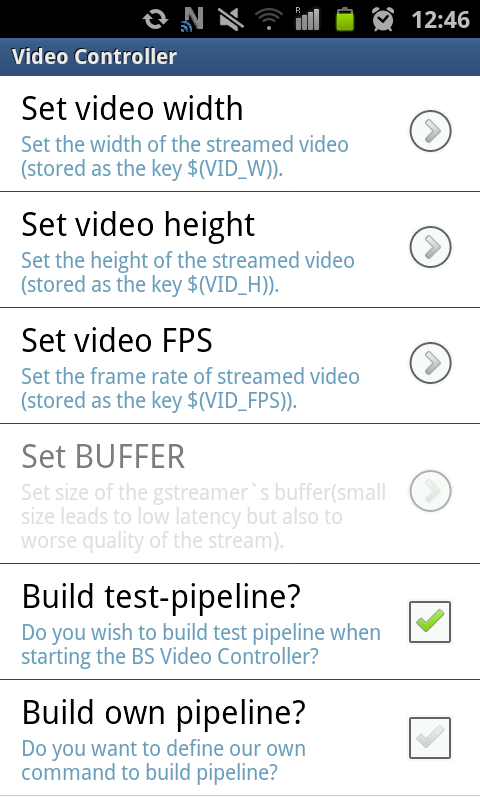
In this category we can set various parameters for the Video Controller - especially the GStreamer.
Here we can define the pipeline which will be build and also define video related keys. We can even define the kill signal for the robot to stop the stream when the Video Controller is terminated.
For detailed information take a look at the following table.
| Name | Type | Description |
|---|---|---|
| Set video width | int | Here we can set the integer value for the key $(VID_W)$. |
| Set video height | int | Here we can set the integer value for the key $(VID_H)$. |
| Set video FPS | int | Here we can set the integer value for the key $(VID_FPS)$. |
| Build test-pipeline? | bool | If checked true, a test pipeline of the form videotestsrc ! warptv ! ffmpegcolorspace ! autovideosink will be build at the start of the Video Controller and user should be able to see test warped screen on his or her Android device. Note that this option overrides all other pipeline settings. |
| Build own pipeline? | bool | If checked true, the user's custom pipeline is build. The custom pipeline can be defined in the following item of the menu. If checked false, a predefined pipeline of the form tcpclient host=$(IP_R) port=$(COMPORT) ! gdpdepay ! rth264depay ! ffdec_h264 ! autovideosink will be built at the start of the Video Streamer. |
| Define own pipeline | string | Here we can define our own pipeline which will be built by the GStreamer and show the video stream. Take a look at this tutorial and included links to learn more about the concept of the pipelines in the GStreamer. |
| Send Kill | int | If checked true, a command of the form streamKill### will be sent to the server when closing the Video Controller.
For example, this command can be used to cancel the video stream in order to save resources of the robot. |
Set Buttons
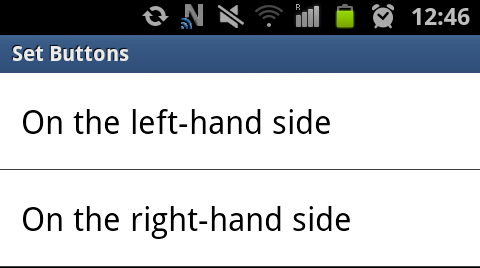
In this section we can assign images and commands to individual buttons in the Video Controller. The sixteen buttons are divided into two columns on both sides of the screen in the landscape mode. The buttons in the left column are numbered from top to bottom as LHS01, LHS02, ... , LHS08. This holds also for the buttons in the right column, but the labels contain RHS in this case.
The individual buttons can be set in the very same manner as described in the previous article and we will not repeat this here.
Conclusion
In this article we have learned about the user's freedom in usage of the Blue Seal Video Controller. We have discovered all the various parameters in details which can be used to modify the Video Controller to best suit the user needs.



Share this page with friends via